Creating a patient channel on the Pulsara communications platform is simple, and you can learn how to do it in just a few minutes.
Open a New Patient
After logging in to the Pulsara app as EMS, tap the New button on the Patient List.

Or, open the main navigation menu and tap New Patient.

Fill out required and optional fields
Required fields have a caution triangle and a red background. First Contact and At Patient default to the current time. If necessary, either time can be adjusted.
If your Agency has an Acuity list configured, the field will appear. Select the appropriate value for the patient.
If a driver’s license is available, tap the DL scan button to scan a US Driver’s License with your device camera. This will populate the following patient demographic information: First and Last Name, Date of Birth, Age, and Gender.
NOTE: Adding this patient demographic data will speed patient registration and potential information exchange with your ePCR system.
If no license is available, enter the First and Last name. If part of the name is not known, check the Unknown boxes to skip the name entry.

Additional Patient demographics such as Age, Gender, Height and Weight, can be entered now or updated later.

You can then continue to fill out any remaining, non-required fields as you deem necessary. Tap the Add button in the lower right corner to attach Audio Clips, Contacts, ECGs, Flowchart Notes, Images, Labels, Labs, Patient Condition and Vitals to the Patient Channel.


If desired, add a spoken description or update of the patient using the Audio button.
Pulsara allows for adding patient condition information via the Triage button. Click here to learn more.
Choose the Patient Type
Special fields may appear for specific case types after the assignment.

Depending on the selected case type, the Chief Complaint may become required. We suggest using voice to text to record a description of the patient instead of using a radio. Once added, all parties in the channel will be able to view the same report.

Select the destination facility.
When selecting a Destination, you may see facilities that have been linked as a favorite destination. If your desired destination does not show in the “Linked” facility list, tap “By Location” to see a larger list or to change the search area for facilities. If linked facilities have not been configured, the menu will display facilities by location. When provided by the facility, availability information will be displayed with a status for accepting patients. See more information on Hospital Availability.
Choose the destination facility from the list of options.


The list of destinations can be filtered by name or city by adding information to the Filter results box.

To change the search area, tap Change Search Area. This view allows searching for facilities in a new location by typing a city or state in the Search Map box or dragging the crosshairs to the location desired. Tap Search to see an facility list for the new search area.


Once a destination is selected, ETA will be automatically calculated based on your location in relationship to the selected Destination facility.
Tapping Alert is the final step in creating your Patient Channel.
This action will notify the appropriate care teams at the destination facility that you are on your way.

Once the facility team responsible for inbound EMS traffic acknowledges the alert, you will receive a push notification to confirm that the destination facility is successfully added to the Patient Channel and that they are aware you are coming.

If your agency does not require a destination when creating a patient channel, you can choose the destination facility after creating the Patient Channel.
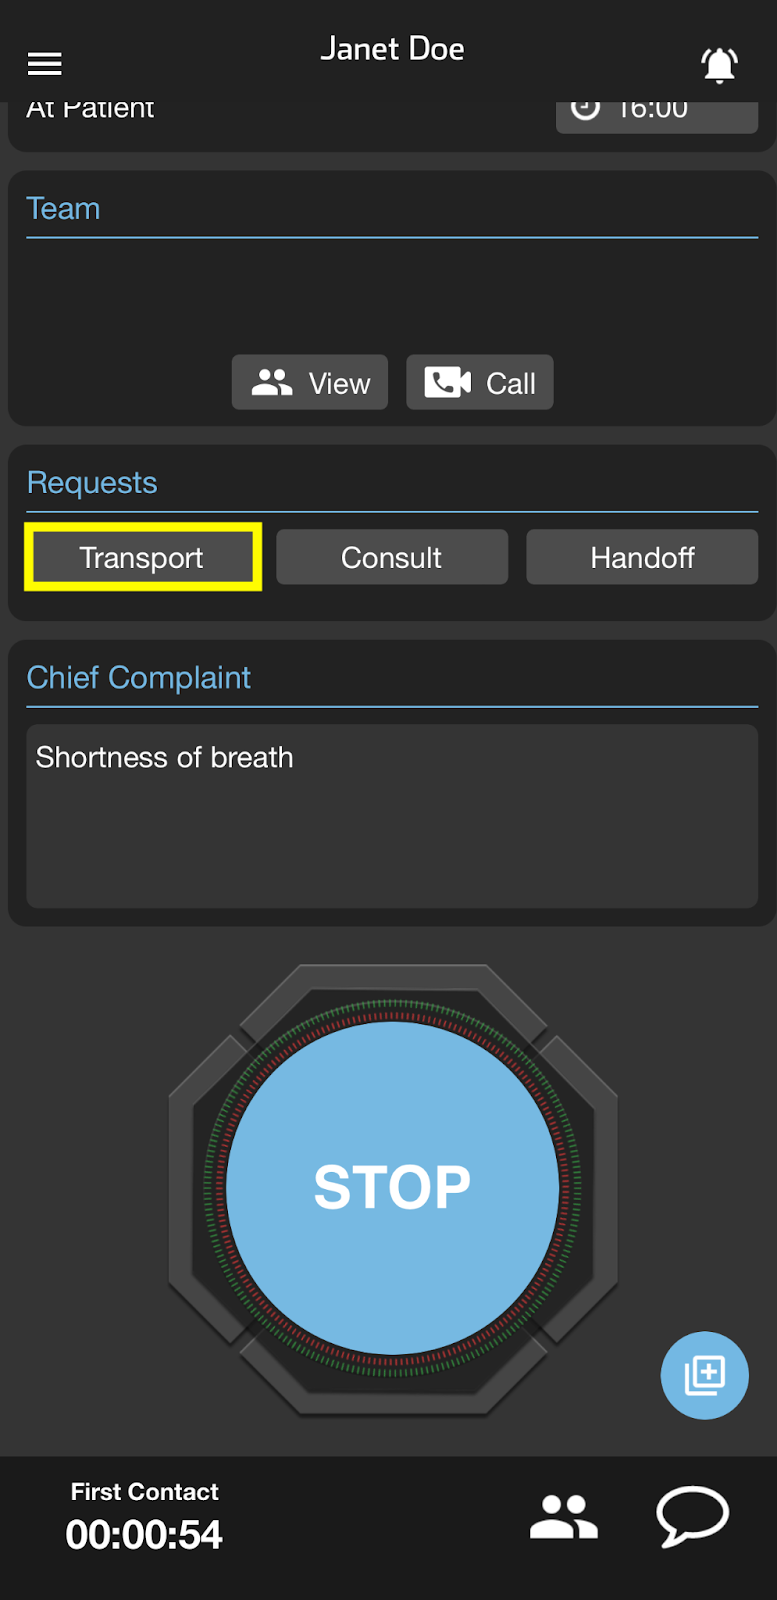
Select the Transport button to select a destination facility after creating a Patient Channel.
Next, select a destination facility to transport to.
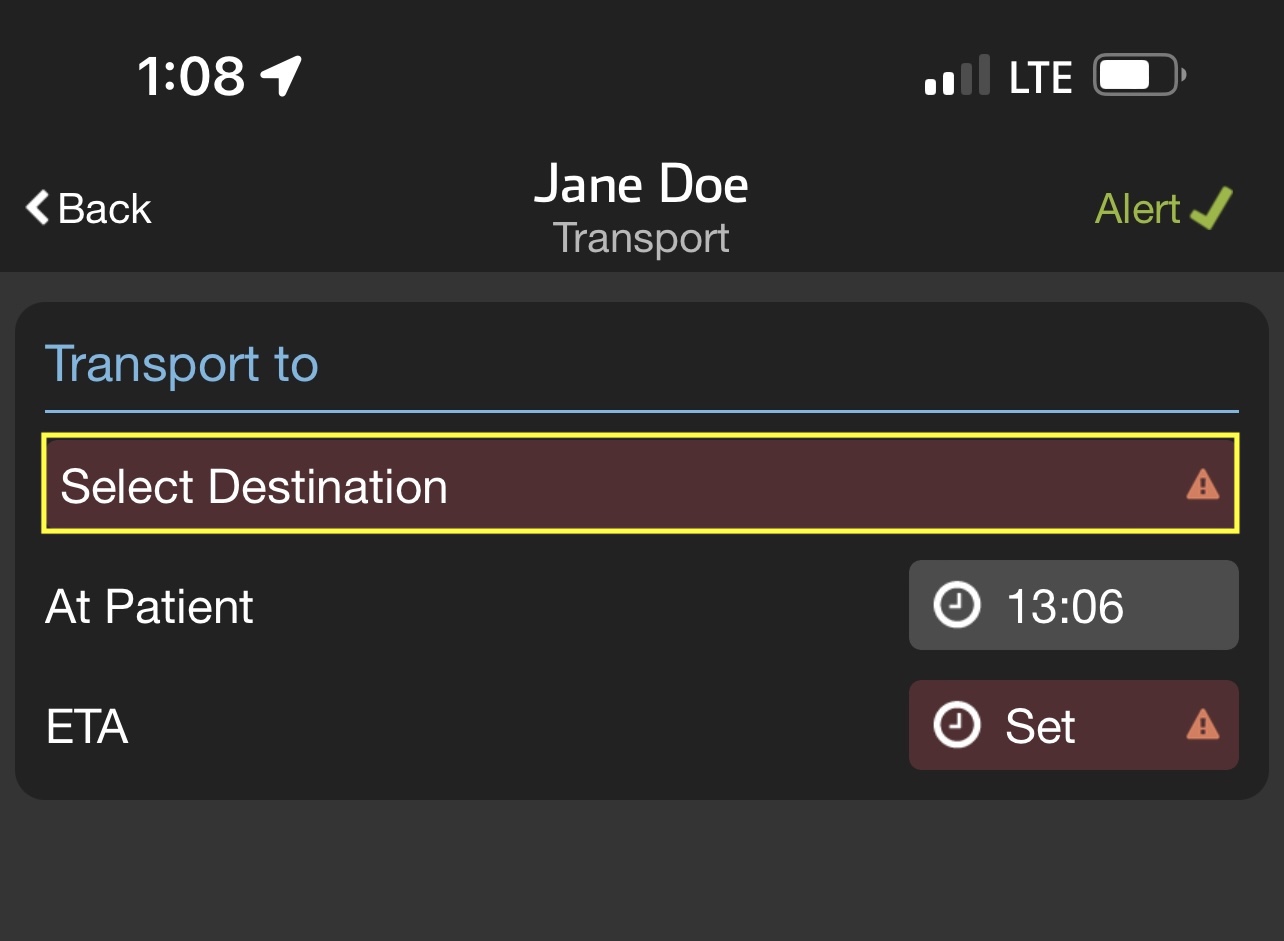

Verify and set At Patient and ETA times, then select Alert.

Tapping Alert is the final step in creating your Patient Channel.
This action will notify the appropriate care teams at the destination facility that you are on your way.